


Set up a Custom RTMP in vMix (Custom RTMP)
This guide shows you how to configure vMix to stream to a RTMP/RTMPS server (CDN or private server) by filling in the URL and Stream Name/Key in Streaming Settings.

1) Requirements & needed details
For a Custom RTMP destination you need these from your provider or your server:
- RTMP/RTMPS URL (e.g.
rtmp://host/apporrtmps://host/app) - Stream Name/Key (often called “Stream Key”, “Stream Name”, “Key” or a token)
- A stable upload connection (Ethernet is better than Wi?Fi)
Your Stream Key is like a password: anyone who has it can stream to your channel. Don’t share it.
URL:  rtmp(s)://HOST[:PORT]/APP
Key: STREAM_NAME (or STREAM_NAME?token=...)Example 1 (classic RTMP)
URL: rtmp://stream.yourdomain.tld/live
Key: channel1
Example 2 (RTMPS + token)
URL: rtmps://stream.yourdomain.tld/live
Key: channel1?token=ABC1232) Open Streaming Settings
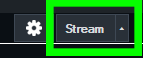
- In the main vMix window, locate the Stream button.
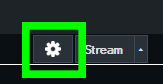
- Click the gear icon next to Stream to open Streaming Settings.
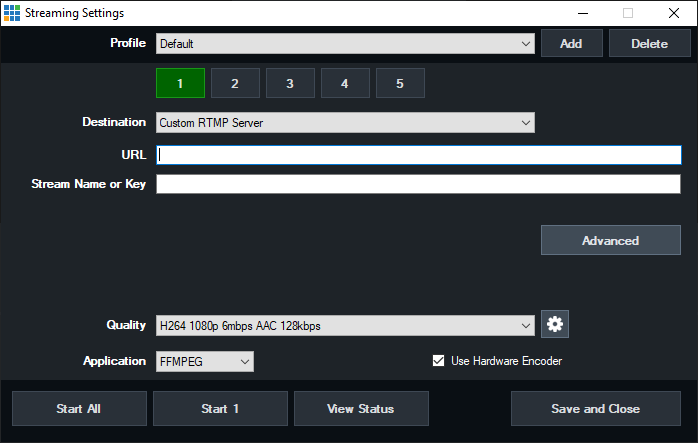
3) Configure Custom RTMP Server (URL + Stream Key)
- In Streaming Settings, pick a Profile (optional, useful for saving multiple destinations).
- Under Destination, select Custom RTMP Server.
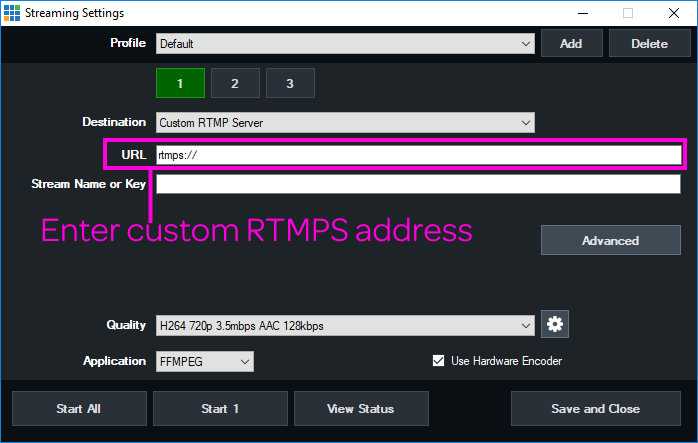
- Fill in:
- URL: paste the RTMP/RTMPS endpoint
- Stream Name or Key: enter your stream key
- If your provider requires username/password, open Advanced and enter them (only if required by your provider).
- Click Save and Close to save.

You can also use a built-in destination (YouTube, Twitch, etc.) with direct login. Custom RTMP is for providers that are not listed, or when you receive URL+Key manually.
4) Quality, encoder and recommended settings
In Quality, choose a preset that matches your upload bandwidth. The FFMPEG option is typically recommended because it supports H.264 + AAC and offers good quality and compatibility.
| Setting | Recommendation | Notes |
|---|---|---|
| Video codec | H.264 | Most compatible standard for RTMP. |
| Audio codec | AAC (128–192 kbps) | 160 kbps is a solid balance. |
| Video bitrate | Based on upload (e.g. 3500–6000 kbps for 1080p30) | If you get dropped frames, lower bitrate or switch to 720p. |
| Keyframe interval | 2 seconds | Many services/CDNs require or recommend it. |
| Hardware Encoder | Enable it if available | Reduces CPU load (useful with a compatible NVIDIA GPU). |
Keep total bitrate (video+audio) at most 60–70% of your real measured upload to avoid saturation and instability.
5) Start the stream and verify
- Make sure your production (Preview/Output) is ready.
- Press Stream in the main vMix window.
- When active, the button turns red. Verify on your provider dashboard/player that the stream is received.
6) RTMPS (secure connection)
If your endpoint is RTMPS, usually it’s enough to use a URL that starts with rtmps:// (or any “secure” option provided by your service).
7) Troubleshooting
Error: “Could not connect” / can’t connect
- Re-check URL and Stream Key (no extra spaces/characters).
- If the URL includes a port (e.g.
:1935), make sure it’s the correct one. - Firewall/NAT: the most common RTMP port is TCP 1935 (if your provider uses 443/80 or another port, you must use the one they specify).
- If using RTMPS, verify certificate/port and that the endpoint supports RTMPS.
Choppy stream / dropped frames
- Lower bitrate and/or resolution (720p is more resilient than 1080p).
- Enable Hardware Encoder if available.
- Use a wired connection and stop competing uploads (backups, cloud sync, etc.).
Audio out of sync
- Keep a consistent sample rate (typically 48 kHz) and check delays on audio sources.
- Avoid very heavy filters if the machine is close to its limits.
8) FAQ
Does vMix support multiple destinations?
Yes: vMix can handle multiple streams/destinations (depending on version and configuration). If you use NVIDIA hardware encoding, keep in mind the GPU’s simultaneous encoder limits.
Do I need username/password for Custom RTMP?
It depends on the provider. Many use only URL+Key; others require credentials in “Advanced” or tokens in the Key/URL.
Why do some networks block RTMP?
On some corporate networks, port 1935 may be filtered. In that case, many providers offer endpoints on 443/80 (or RTMPS) for better compatibility.


